Purlins & Girts Explained: Functions, Types, and Common Mistakes
Steel buildings are renowned for their strength, versatility, and durability. Yet, behind every durable steel structure are components that often go unnoticed but play a critical role in stability—purlins and girts.
In this article, we provide a complete guide to Purlins & Girts Explained: Functions, Types, and Common Mistakes, helping engineers, contractors, and project managers optimize their designs and avoid costly errors.
What Are Purlins and Girts in Steel Buildings?
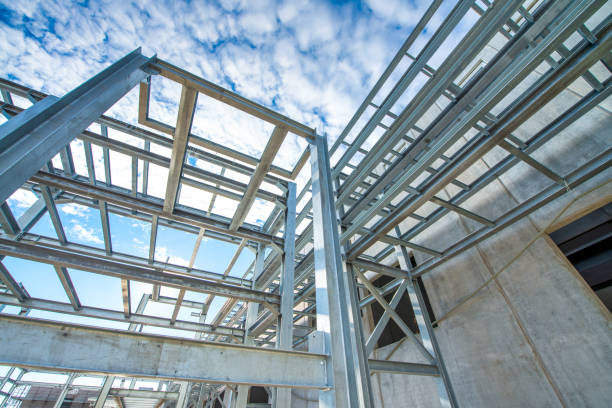
Purlins and girts are horizontal structural members that provide essential support for roof and wall cladding in steel buildings.
Although they might seem minor, their correct selection and installation directly affect the strength, safety, and longevity of the structure.
- Purlins: Horizontal members that support roof panels, transferring roof loads to the main frame. Properly designed purlins prevent roof deflection and sagging.
- Girts: Horizontal members along walls that support wall cladding and transfer lateral loads such as wind to the main frame. Correctly installed girts also prevent wall buckling.
Neglecting proper design or installation of purlins and girts can lead to structural weaknesses, maintenance issues, and even safety hazards.
Common Profiles: Z, C, and Custom Sections
Choosing the right profile is crucial for performance. The most widely used profiles include:
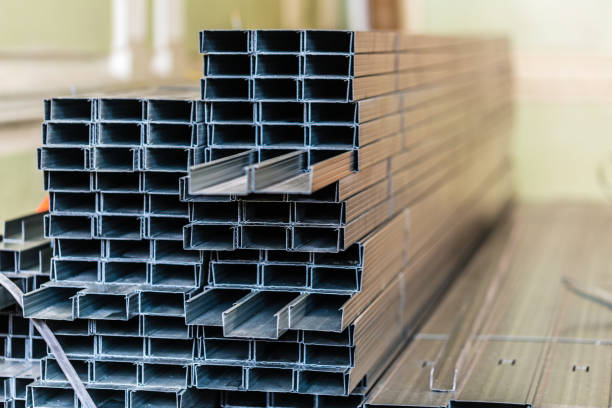
- Z-Sections: Ideal for overlapping at supports, creating continuous spans that reduce deflection. Lightweight and easy to install.
- C-Sections: Suitable for simple spans, easier to handle, but may require additional bracing for longer spans.
- Custom Profiles: Tailored to project-specific loads or aesthetic requirements. Optimizes material use and enhances structural efficiency.
Selecting the correct profile ensures stability and prevents long-term issues such as excessive stress or deformation.
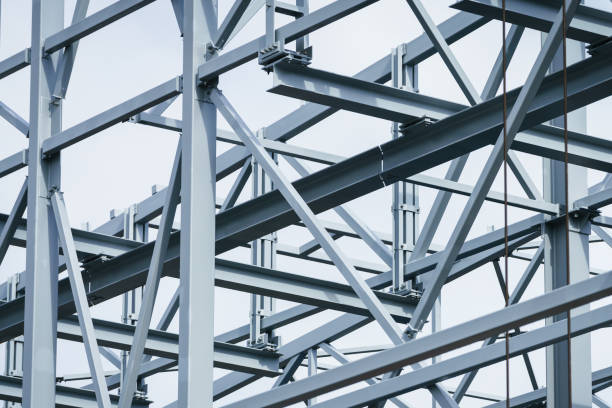
Spacing, Laps, and Bracing: Practical Rules
Proper installation ensures that purlins and girts perform effectively:
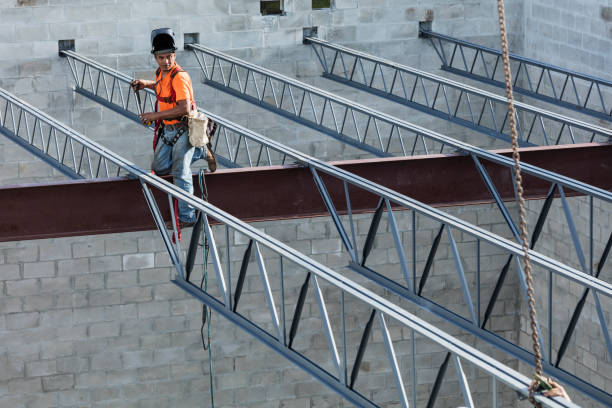
- Spacing: Typical roof purlin spacing is 4–6 feet; wall girts follow similar spacing, depending on loads.
- Laps: Overlaps at supports enhance continuity and reduce stress. Z-sections generally lap 1.5 times their depth.
- Bracing: Diagonal bracing prevents lateral-torsional buckling. Bracing should be installed as per structural specifications.
Following these rules prevents panel deformation, sagging roofs, and structural failure.
Common Installation Mistakes That Cause Roof/Wall Issues
Understanding mistakes helps prevent costly errors:
| Mistake | Effect on Structure |
| Incorrect spacing | Panel buckling, sagging, or water ponding |
| Improper laps | Reduced continuity, excessive deflection |
| Insufficient bracing | Twisting or buckling under wind loads |
| Misalignment of members | Structural stress and poor load distribution |
| Using wrong profiles | Overstressed members and potential premature failure |
Avoiding these mistakes is crucial for a long-lasting and reliable steel building.
How to Specify Purlins/Girts Properly in Your Project
A structured approach ensures optimal performance:
- Determine Load Requirements: Include dead, live, wind, and snow loads.
- Select the Profile: Z, C, or custom sections depending on span and load.
- Define Spacing and Laps: Provide clear instructions to avoid onsite confusion.
- Coordinate With Cladding Panels: Align purlins and girts with panel joints.
- Provide Installation Guidelines: Orientation, bracing, and lap connections.
- Inspect During Construction: Verify compliance to specifications to avoid long-term issues.
Correct specification reduces maintenance costs and ensures structural integrity for decades.
Quick Statistics on Purlins & Girts in Steel Buildings
| Component | Typical Span (ft) | Weight per Foot (lbs) | Recommended Bracing Interval (ft) |
| Roof Purlin (Z) | 20–40 | 5–10 | 6–8 |
| Roof Purlin (C) | 15–30 | 6–12 | 4–6 |
| Wall Girt (Z) | 20–35 | 4–9 | 6–8 |
| Wall Girt (C) | 15–25 | 5–11 | 4–6 |
These numbers are practical references for planning and installation, helping engineers make informed decisions.
Frequently Asked Questions (FAQ)
Q1: Can I mix Z and C sections in the same building?
A1: While possible, it’s best to consult a structural engineer to ensure load distribution and bracing are adequate.
Q2: How important is bracing for long spans?
A2: Extremely important. Insufficient bracing can lead to buckling and structural failure, especially in areas with high wind or snow loads.
Q3: Can purlins or girts be used for non-steel buildings?
A3: Yes, similar principles apply for timber or composite structures, but material properties and load capacities differ.
Q4: What’s the difference between purlins and girts?
A4: Purlins support roof panels, while girts support wall cladding. Both transfer loads to the main frame but serve different parts of the building.
Conclusion
Mastering Purlins & Girts Explained: Functions, Types, and Common Mistakes is essential for building a durable, reliable, and efficient steel structure.
From selecting the right profiles to ensuring proper spacing, laps, and bracing, attention to detail makes a significant difference.
Avoiding installation errors and specifying components correctly not only enhances structural performance but also saves time, reduces costs, and minimizes long-term maintenance.
When designing your next steel building, remember that well-planned purlins and girts are the backbone of your structure.
Investing in their correct design and installation ensures that your building stands strong for decades, providing safety and peace of mind.
Related articles: